


The project structure for a React Native CLI project can vary based on the specific requirements of the project and how it is organized by the development team. However, there are some common folders and files that are typically found in a React Native CLI project:
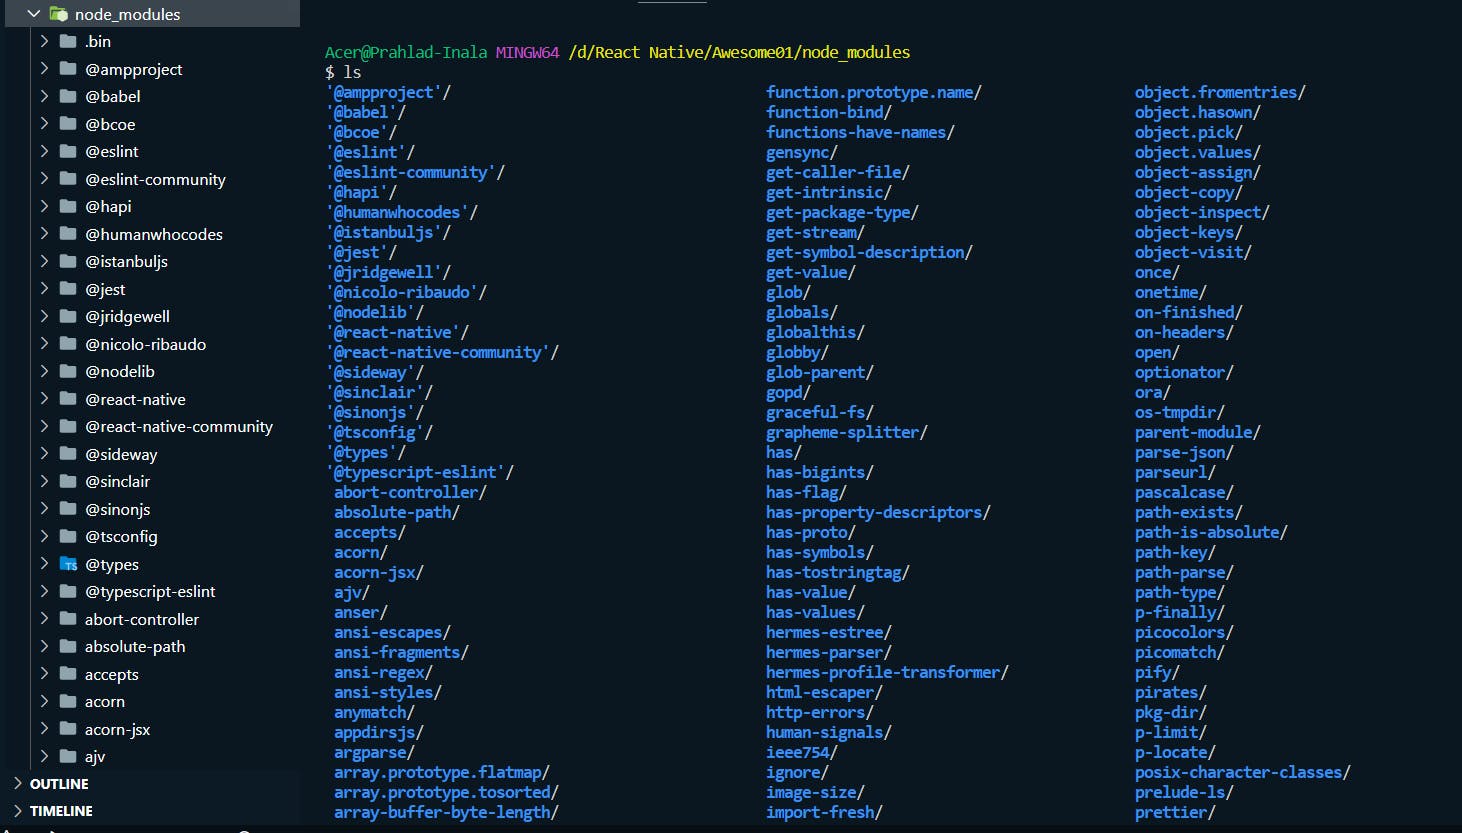
node_modules
This folder contains all the third-party dependencies and packages installed using npm or yarn. When you install a package using npm or yarn, it is downloaded and saved in the node_modules folder. These packages can be accessed in your project using the import statement.
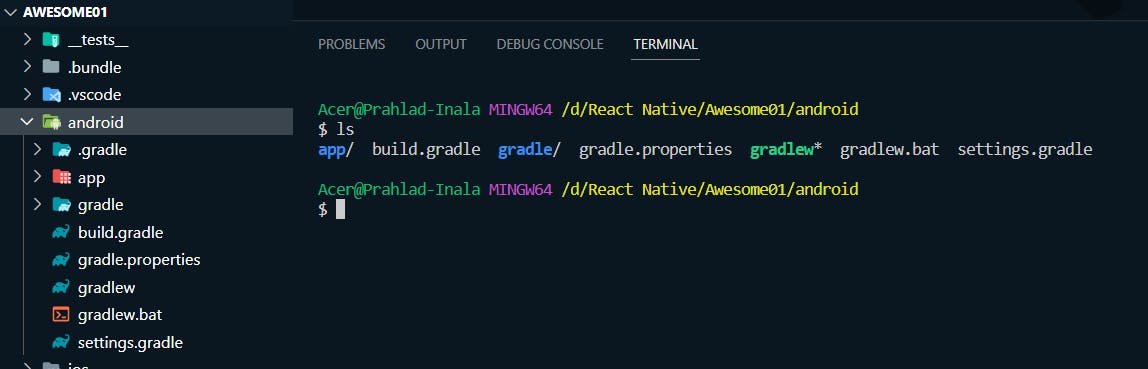
android
This folder contains the Android native code files and resources for the app. This includes the AndroidManifest.xml file, which contains important configuration information for the app, such as permissions, activities, and services. The java folder contains the Java source code for the app, while the res folder contains resources such as images, layouts, and strings.
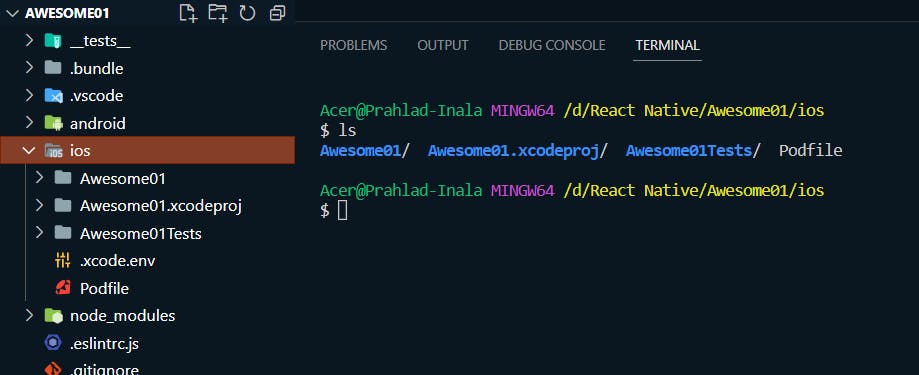
ios
This folder contains the iOS native code files and resources for the app. This includes the Info.plist file, which contains important configuration information for the app, such as permissions and the app's bundle identifier. The app folder contains the Objective-C and Swift source code for the app, while the Assets folder contains any images or other assets used by the app.
index.js or index.tsx
This is the entry point of the app where the main React Native component is registered and rendered. This file typically imports the necessary dependencies and initializes the app using the AppRegistry.registerComponent method.
 /**
  * @format
  */

 import {AppRegistry} from 'react-native';
 import App from './App';
 import {name as appName} from './app.json';

 AppRegistry.registerComponent(appName, () => App);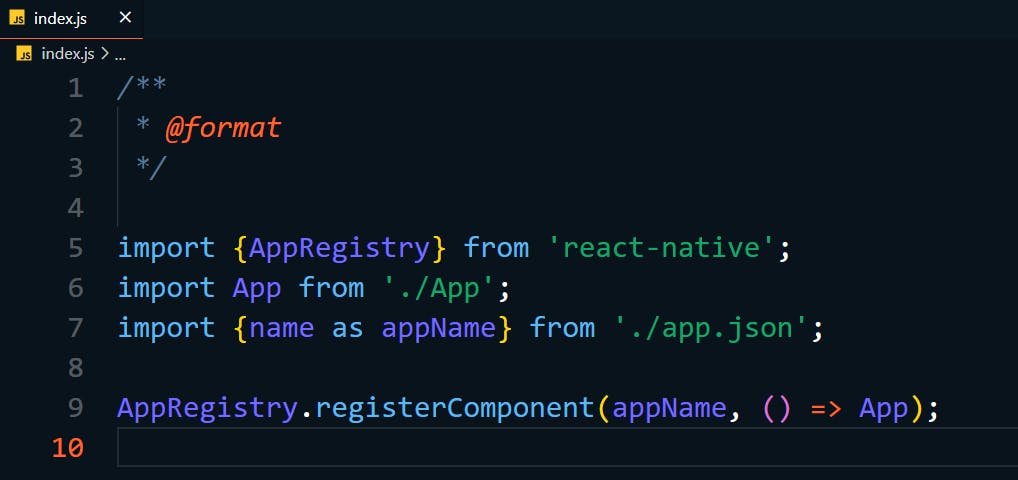
package.json
This file contains information about the project, such as the name, version, dependencies, and scripts. It is used by npm or yarn to manage the project's dependencies and scripts.
 {
   "name": "Awesome01",
   "version": "0.0.1",
   "private": true,
   "scripts": {
     "android": "react-native run-android",
     "ios": "react-native run-ios",
     "lint": "eslint .",
     "start": "react-native start",
     "test": "jest"
   },
   "dependencies": {
     "react": "18.2.0",
     "react-native": "0.71.4"
   },
   "devDependencies": {
     "@babel/core": "^7.20.0",
     "@babel/preset-env": "^7.20.0",
     "@babel/runtime": "^7.20.0",
     "@react-native-community/eslint-config": "^3.2.0",
     "@tsconfig/react-native": "^2.0.2",
     "@types/jest": "^29.2.1",
     "@types/react": "^18.0.24",
     "@types/react-test-renderer": "^18.0.0",
     "babel-jest": "^29.2.1",
     "eslint": "^8.19.0",
     "jest": "^29.2.1",
     "metro-react-native-babel-preset": "0.73.8",
     "prettier": "^2.4.1",
     "react-test-renderer": "18.2.0",
     "typescript": "4.8.4"
   },
   "jest": {
     "preset": "react-native"
   }
 }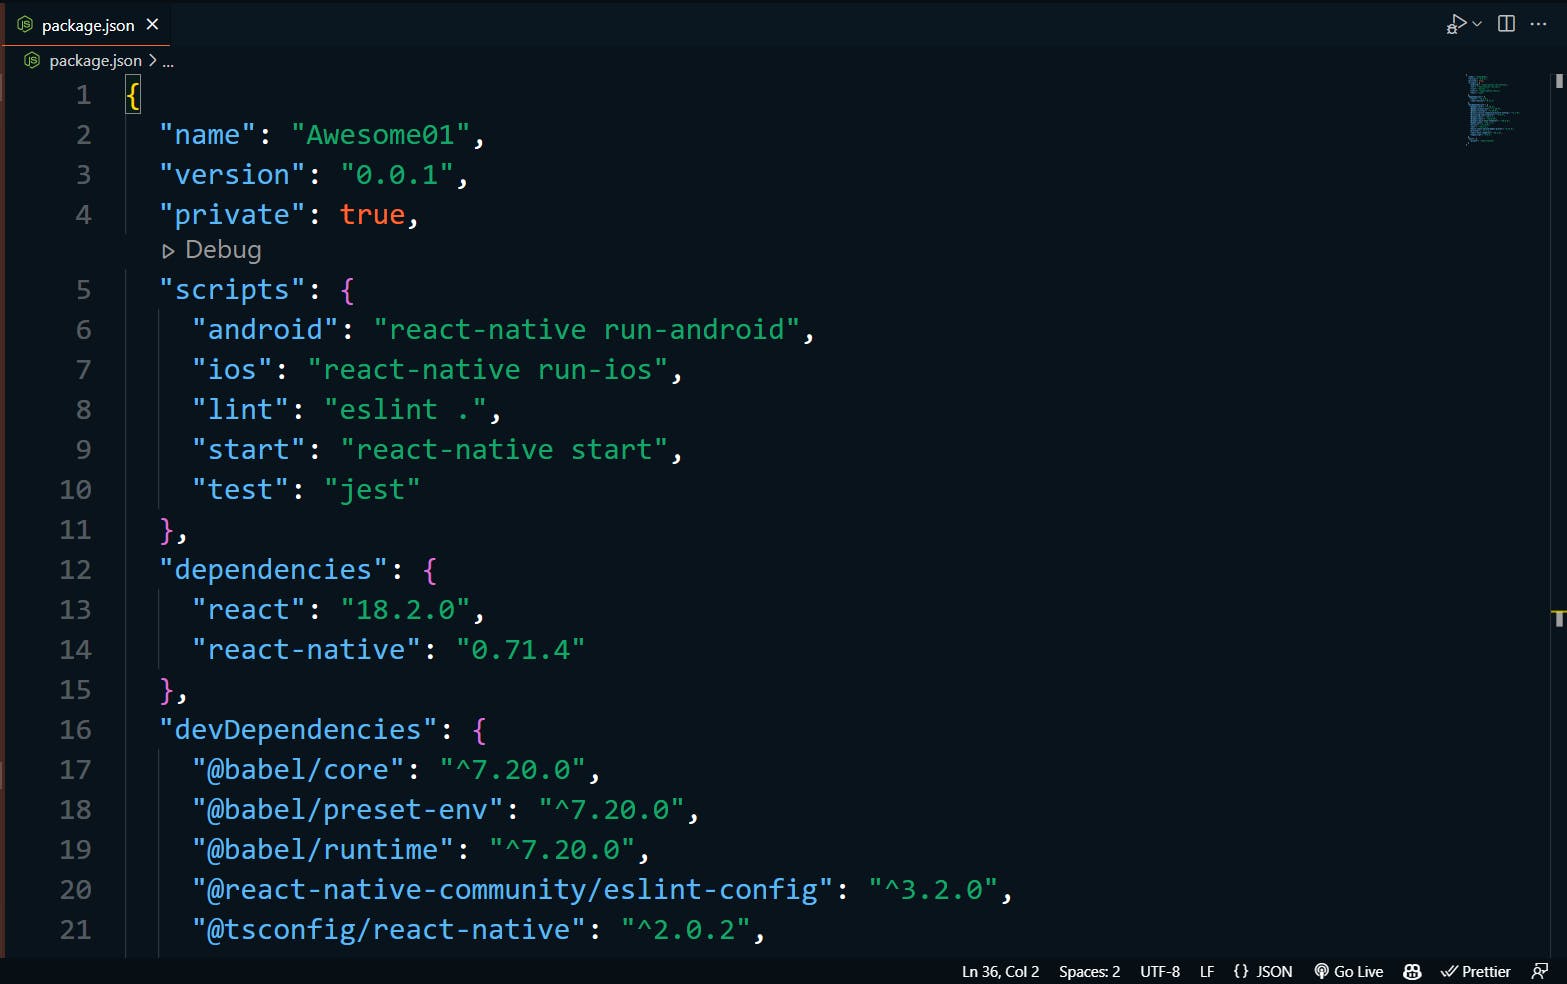
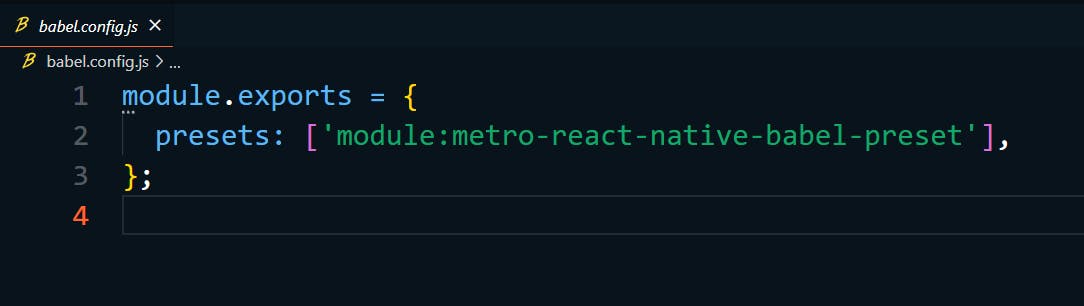
babel.config.js
This file contains the configuration for the Babel compiler, which is used to transform the ES6+ JavaScript code to a compatible version that can be executed on both Android and iOS platforms. It is used to configure the plugins and presets used by Babel to transform the code.
module.exports = {
  presets: ['module:metro-react-native-babel-preset'],
};
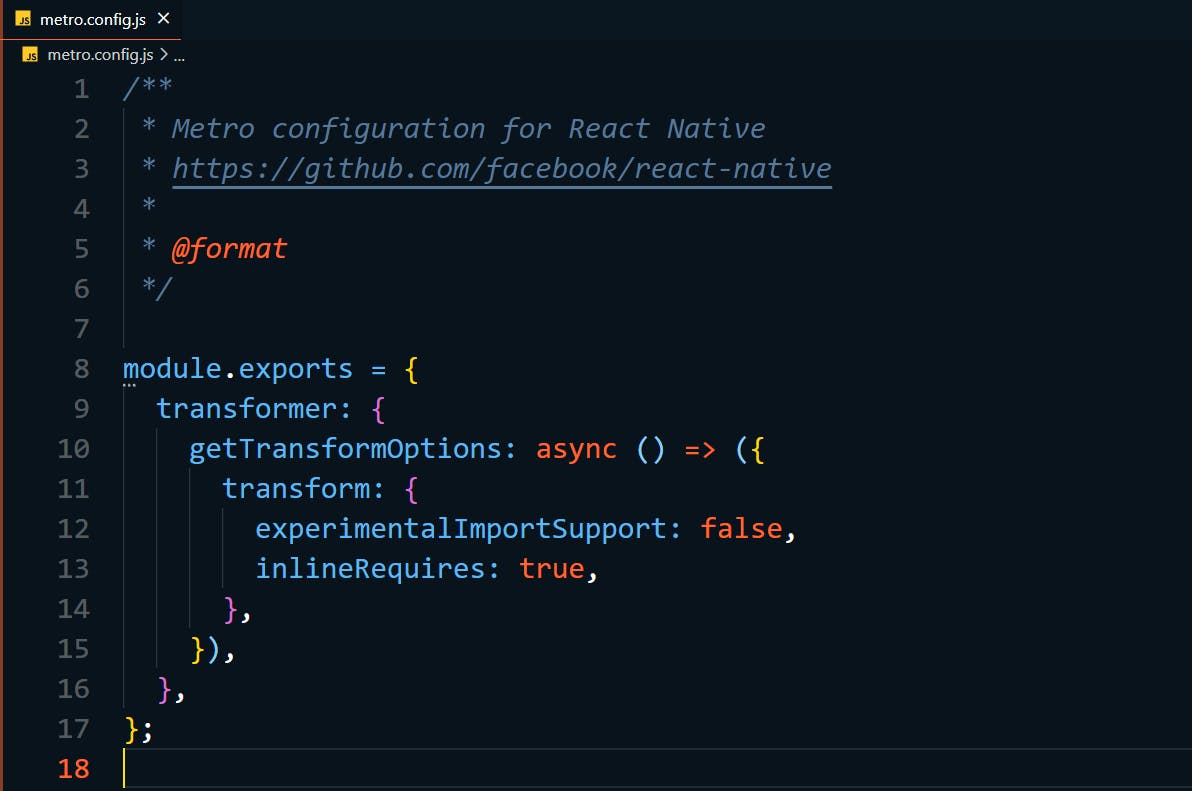
metro.config.js
This file contains the configuration for the Metro bundler, which is used to bundle and serve the JavaScript code for the app. It is used to configure the options for the bundler, such as the location of the source files and the target platform.
module.exports = {
  transformer: {
    getTransformOptions: async () => ({
      transform: {
        experimentalImportSupport: false,
        inlineRequires: true,
      },
    }),
  },
};
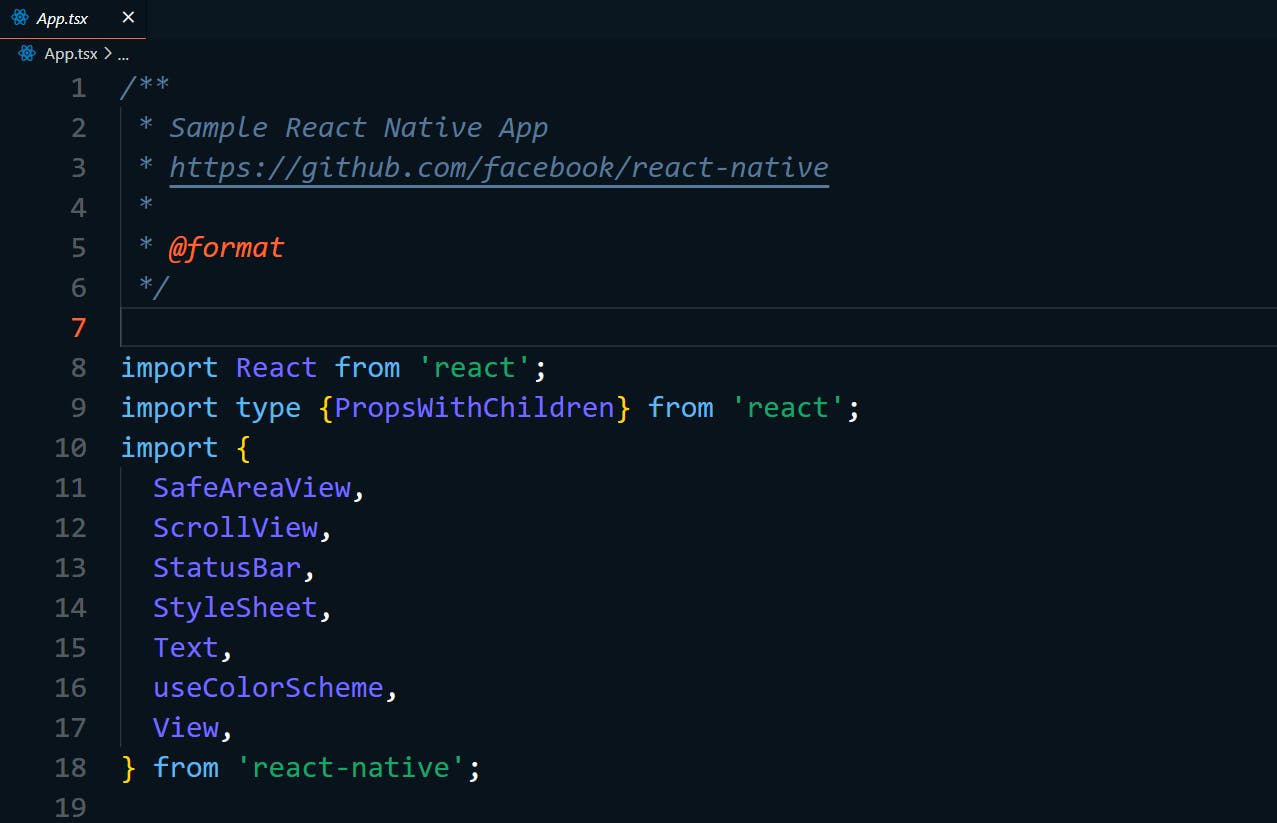
App.js or App.tsx
This file contains the main component of the app and is typically the first component that is rendered. This component is responsible for rendering the UI of the app and responding to user interactions.
import React from 'react';
import type {PropsWithChildren} from 'react';
import {
  SafeAreaView,
  ScrollView,
  StatusBar,
  StyleSheet,
  Text,
  useColorScheme,
  View,
} from 'react-native';

import {
  Colors,
  DebugInstructions,
  Header,
  LearnMoreLinks,
  ReloadInstructions,
} from 'react-native/Libraries/NewAppScreen';

type SectionProps = PropsWithChildren<{
  title: string;
}>;

function Section({children, title}: SectionProps): JSX.Element {
  const isDarkMode = useColorScheme() === 'dark';
  return (
    <View style={styles.sectionContainer}>
      <Text
        style={[
          styles.sectionTitle,
          {
            color: isDarkMode ? Colors.white : Colors.black,
          },
        ]}>
        {title}
      </Text>
      <Text
        style={[
          styles.sectionDescription,
          {
            color: isDarkMode ? Colors.light : Colors.dark,
          },
        ]}>
        {children}
      </Text>
    </View>
  );
}

function App(): JSX.Element {
  const isDarkMode = useColorScheme() === 'dark';

  const backgroundStyle = {
    backgroundColor: isDarkMode ? Colors.darker : Colors.lighter,
  };

  return (
    <SafeAreaView style={backgroundStyle}>
      <StatusBar
        barStyle={isDarkMode ? 'light-content' : 'dark-content'}
        backgroundColor={backgroundStyle.backgroundColor}
      />
      <ScrollView
        contentInsetAdjustmentBehavior="automatic"
        style={backgroundStyle}>
        <Header />
        <View
          style={{
            backgroundColor: isDarkMode ? Colors.black : Colors.white,
          }}>
          <Section title="Step One">
            Edit <Text style={styles.highlight}>App.tsx</Text> to change this
            screen and then come back to see your edits.
          </Section>
          <Section title="See Your Changes">
            <ReloadInstructions />
          </Section>
          <Section title="Debug">
            <DebugInstructions />
          </Section>
          <Section title="Learn More">
            Read the docs to discover what to do next:
          </Section>
          <LearnMoreLinks />
        </View>
      </ScrollView>
    </SafeAreaView>
  );
}

const styles = StyleSheet.create({
  sectionContainer: {
    marginTop: 32,
    paddingHorizontal: 24,
  },
  sectionTitle: {
    fontSize: 24,
    fontWeight: '600',
  },
  sectionDescription: {
    marginTop: 8,
    fontSize: 18,
    fontWeight: '400',
  },
  highlight: {
    fontWeight: '700',
  },
});

export default App;
assets
This folder contains any images, fonts, or other assets used by the app. These assets can be accessed in the app using the require() method, which allows you to specify the path to the asset file.
app.json
This file contains the app name as a JSON format
{
  "name": "Awesome01",
  "displayName": "Awesome01"
}
Overall, the project structure for a React Native CLI project is similar to that of a standard React project, but with additional folders and files specific to the native platforms. The project structure can be customized as needed to suit the requirements of the project.
Follow for more
Linkedin: https://www.linkedin.com/in/prahladinala/
Github: https://github.com/prahladinala/
Instagram: https://instagram.com/prahlad.inala/
Twitter: https://twitter.com/prahladinala
Figma Community: https://www.figma.com/@prahladinala
Dribbble: https://dribbble.com/prahladinala
Behance: https://www.behance.net/prahladinala
Personal Portfolio: https://prahladinala.in
ToolMate: https://toolmate.co.in